Bottom Roller Replacement
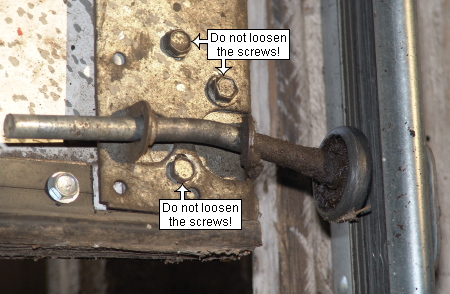
These instructions are only for replacing the rollers that are supported by the bottom brackets. This roller can be found just a few inches off the ground when the door is closed. For additional roller replacement instructions, visit our Top Roller Replacement or our Middle Roller and Hinge Replacement tutorials.
Replacing the bottom roller on a garage door can be extremely dangerous for do-it-yourselfers when done incorrectly. When you install a new roller, do not loosen the bolts that secure the bottom fixture to the garage door. Additionally, do not remove the cable from the bottom fixture. Failure to adhere to these warnings may cause the door to cock, jamb, or fall, resulting in property damage and/or personal injury or death.
We have also made a video to help you replace your garage door rollers in order to provide you a more audio-visual option while preparing to do your repair. Caution: The video was NOT designed to REPLACE the instructions below. The video is designed to INFORM the instructions. Protect yourself from serious injury and your property from further damage by reading all of the instructions below in addition to watching the video.
How to Replace Bottom Garage Door Rollers



| 1. Pull the bottom section of the garage door toward the inside of the garage and remove the old roller. If the track still contains the roller, bend the track, as shown in step four. This will allow you to remove the roller from the track. It will be easier to replace the roller if you raise the door a few feet off the ground. | 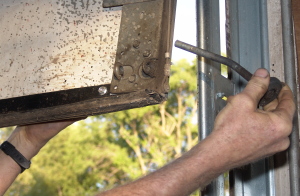 |
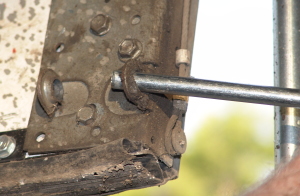 |
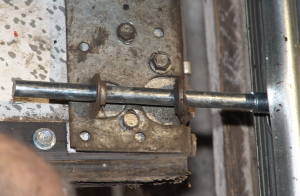
2. Examine the two guide holes for the roller. If they are not perpendicular to the surface of the rest of the bottom bracket, they are bent. Straighten the guide holes using the stem of the roller. |
| 3. Insert the new roller in the bottom bracket. You will need to pull the bottom section toward the inside of the garage again to do this. | 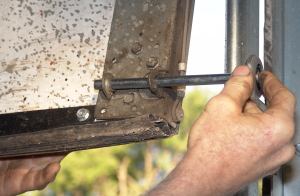 |
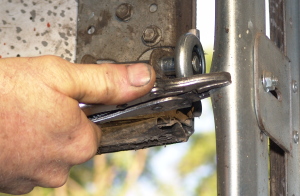 |
4. Bend the track below the roller, as shown if you have not done so already. |
| 5. Lower the garage door to the point where the roller is next to the bent portion of the track. | 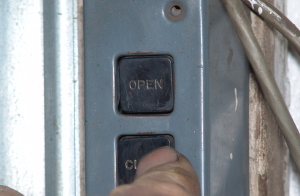 |
 |
6. Insert the roller in the track. |
| 7. Straighten the track with a hammer. Caution: Do not hit the track where there is a roller. Doing so may damage the roller. | 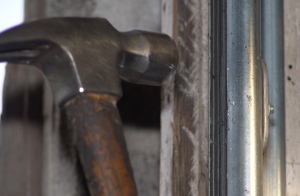 |
